

RV Renovation – We Are Gutting It And Starting Over! (How To Article Series)
RV Renovation can be so intimidating that it keeps us from ever getting started. We all have sat in our RV at some point and said “I wish this was over there” or “Why didn’t it come with this”.
Today we started a complete gutting and RV Renovation Overhaul of our Keystone Montana 381TH. Now I’m not going to lie to you, we aren’t experts in this field. We do however know what we want (for the most part) and aren’t afraid of a little hard work.

Ok, maybe this is going to be a lot of hard work.
We decided the most logical way to tackle all of this, is to do it the same way you would with renovating a room in your home. The first thing you need to do is empty it out!

RV Renovation Step 1
Take all of your “stuff” out before you start your RV Renovation Projects. It’s just going to be in your way later anyway.
Once all your stuff is out, and you are done saying “Oh, I forgot we even bought this” it’s time to really dig in and get your hands dirty.

Furniture Removal
Start with the easy stuff first. Take out your couches and love seats. That alone will open up a lot of room making neat little piles of the rest of your furniture. It’s up to you to decide if your going to use a sledge hammer or a screw driver to remove it all.
If you are going sledge hammer, go ahead and get some paybacks for all those times your RV left ya wishing you bought the other one you were thinking about buying. And, don’t forget to get video and send us the link so we can giggle too.
We went with the screw driver method, because we plan to reinstall a lot of it, after we spruce it up a bit. Check out our YouTube video below to see how to remove stuff without using a sledge hammer, and follow along with our project.
While you’re on our Channel, be sure to subscribe. If you have a Gmail account its as simple as just clicking the subscribe button. We are going to have a LOT of How To Videos coming out this year on just about any RV subject you can think of, so it will definitely be worth your while. We are also going to review specific RV Products, and hook you guys up with exclusive discount codes from some of our friends in the industry!
Remove RV Countertop
On most RV countertops, if you look up from underneath, you will see screws holding them down to the top of your cabinets.
Removal of the countertop is as simple as finding all of the screws and removing them. Be sure to put them all in a bag so you don’t lose any during your RV Renovation Projects.
Once all your screws are out you can simply lift your countertop off your cabinets and put it into your storage area. Removing your cabinets will be a similar process, however the screws you are looking for will be going into the walls or floor of your RV or both!
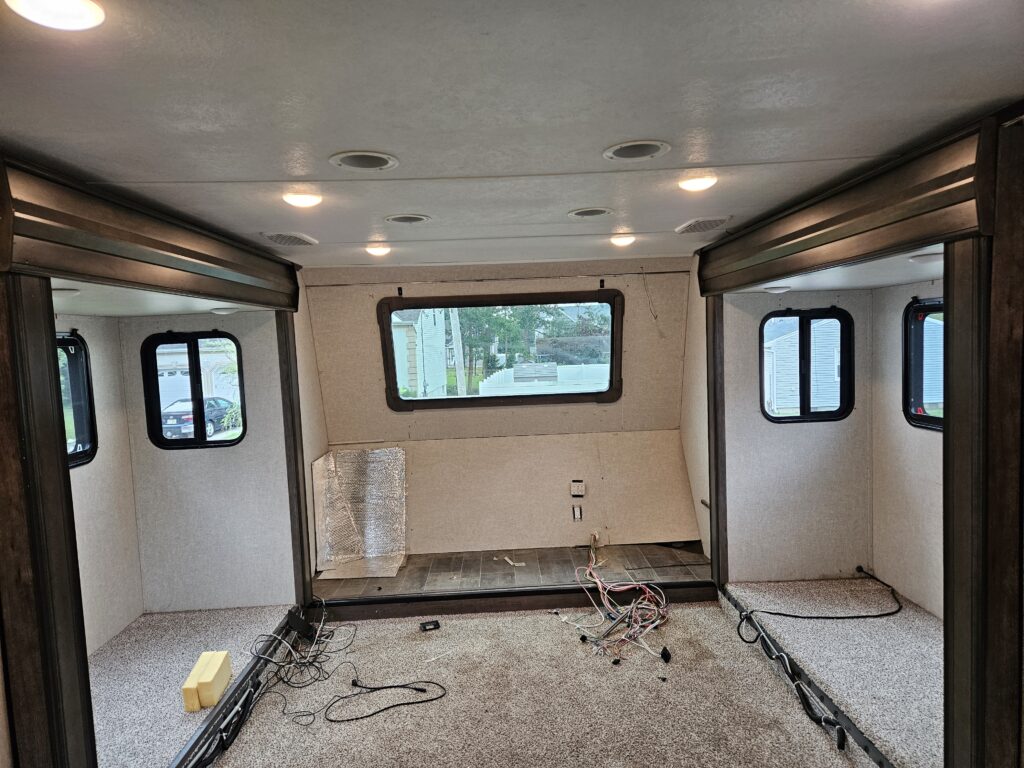
Once you have all of your furniture out and the RV is completely empty, now you’re ready for the REAL Fun. Next stop is to remove the ceiling and the walls.
Stay tuned for our next article and video in the series where we show you how!